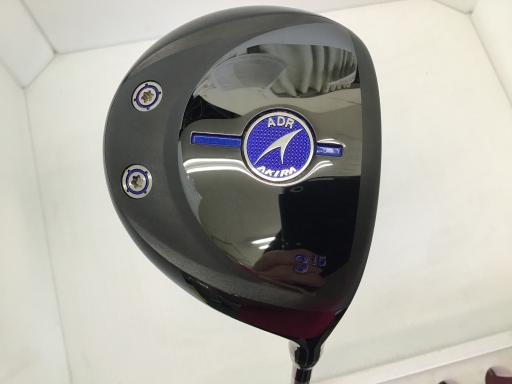
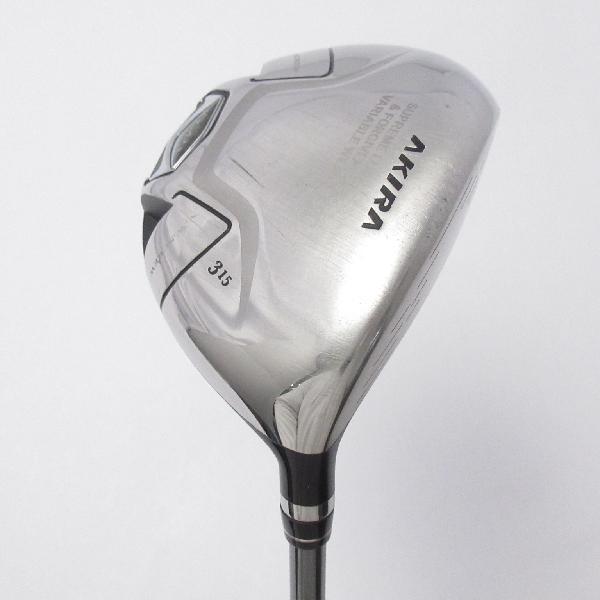
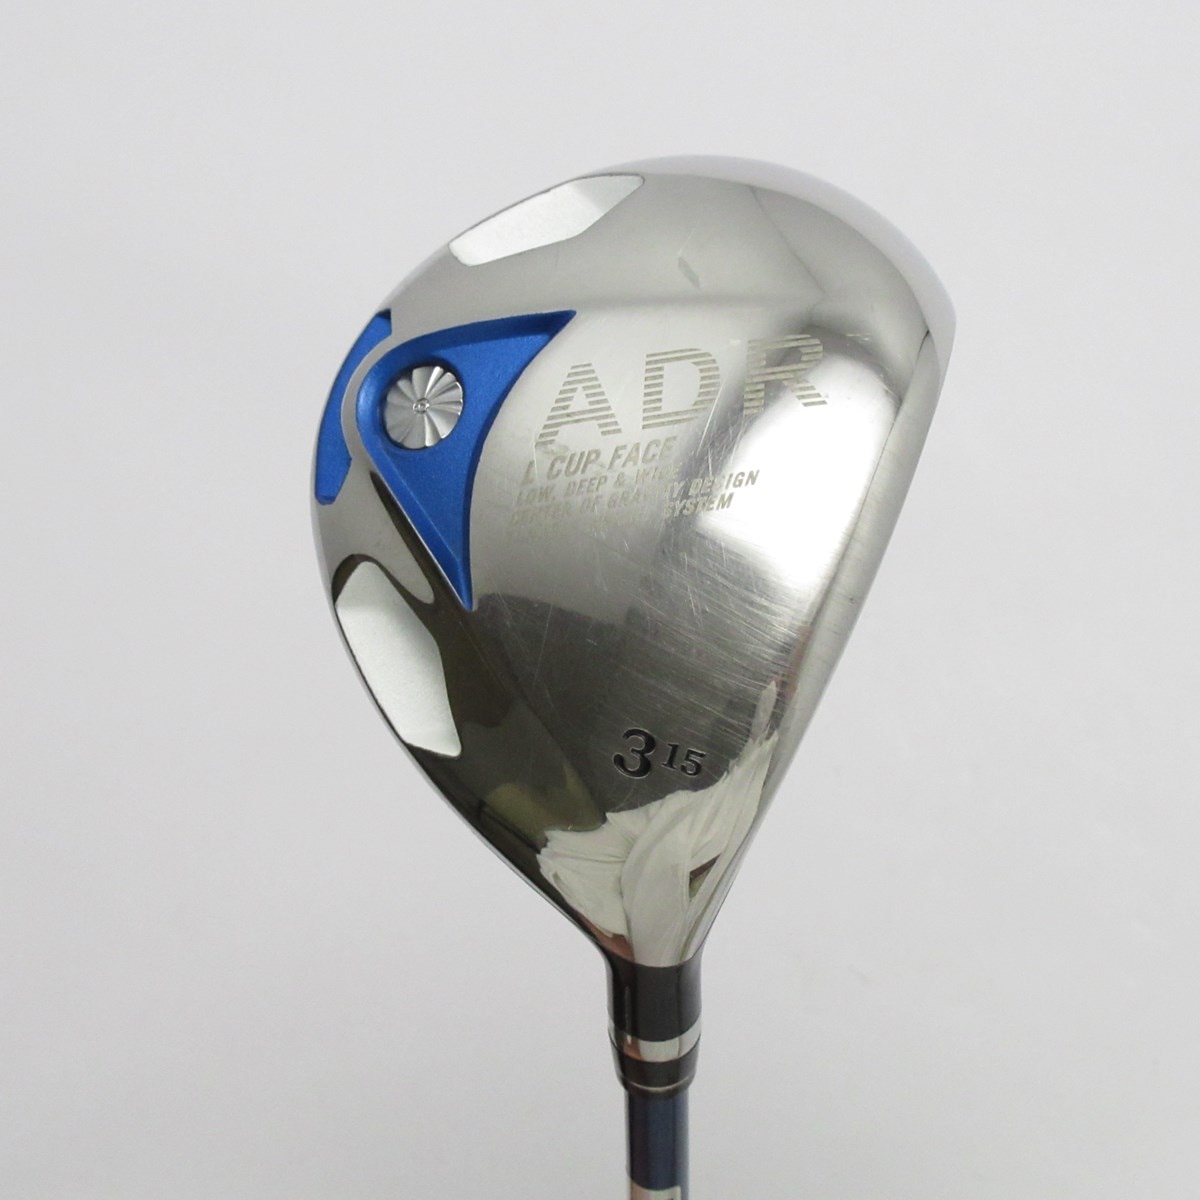
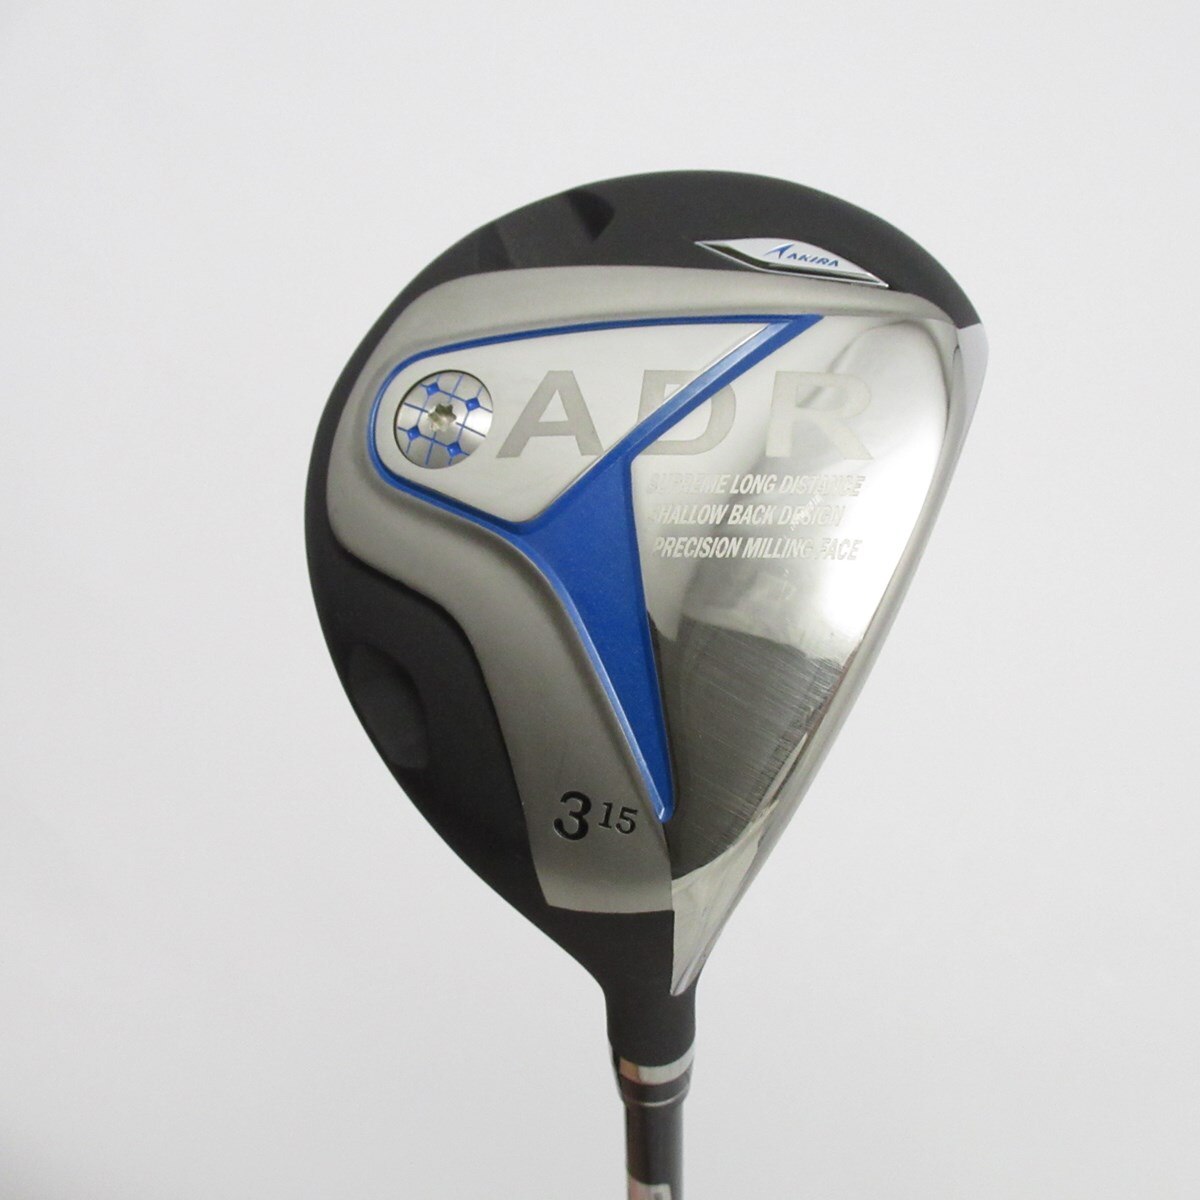
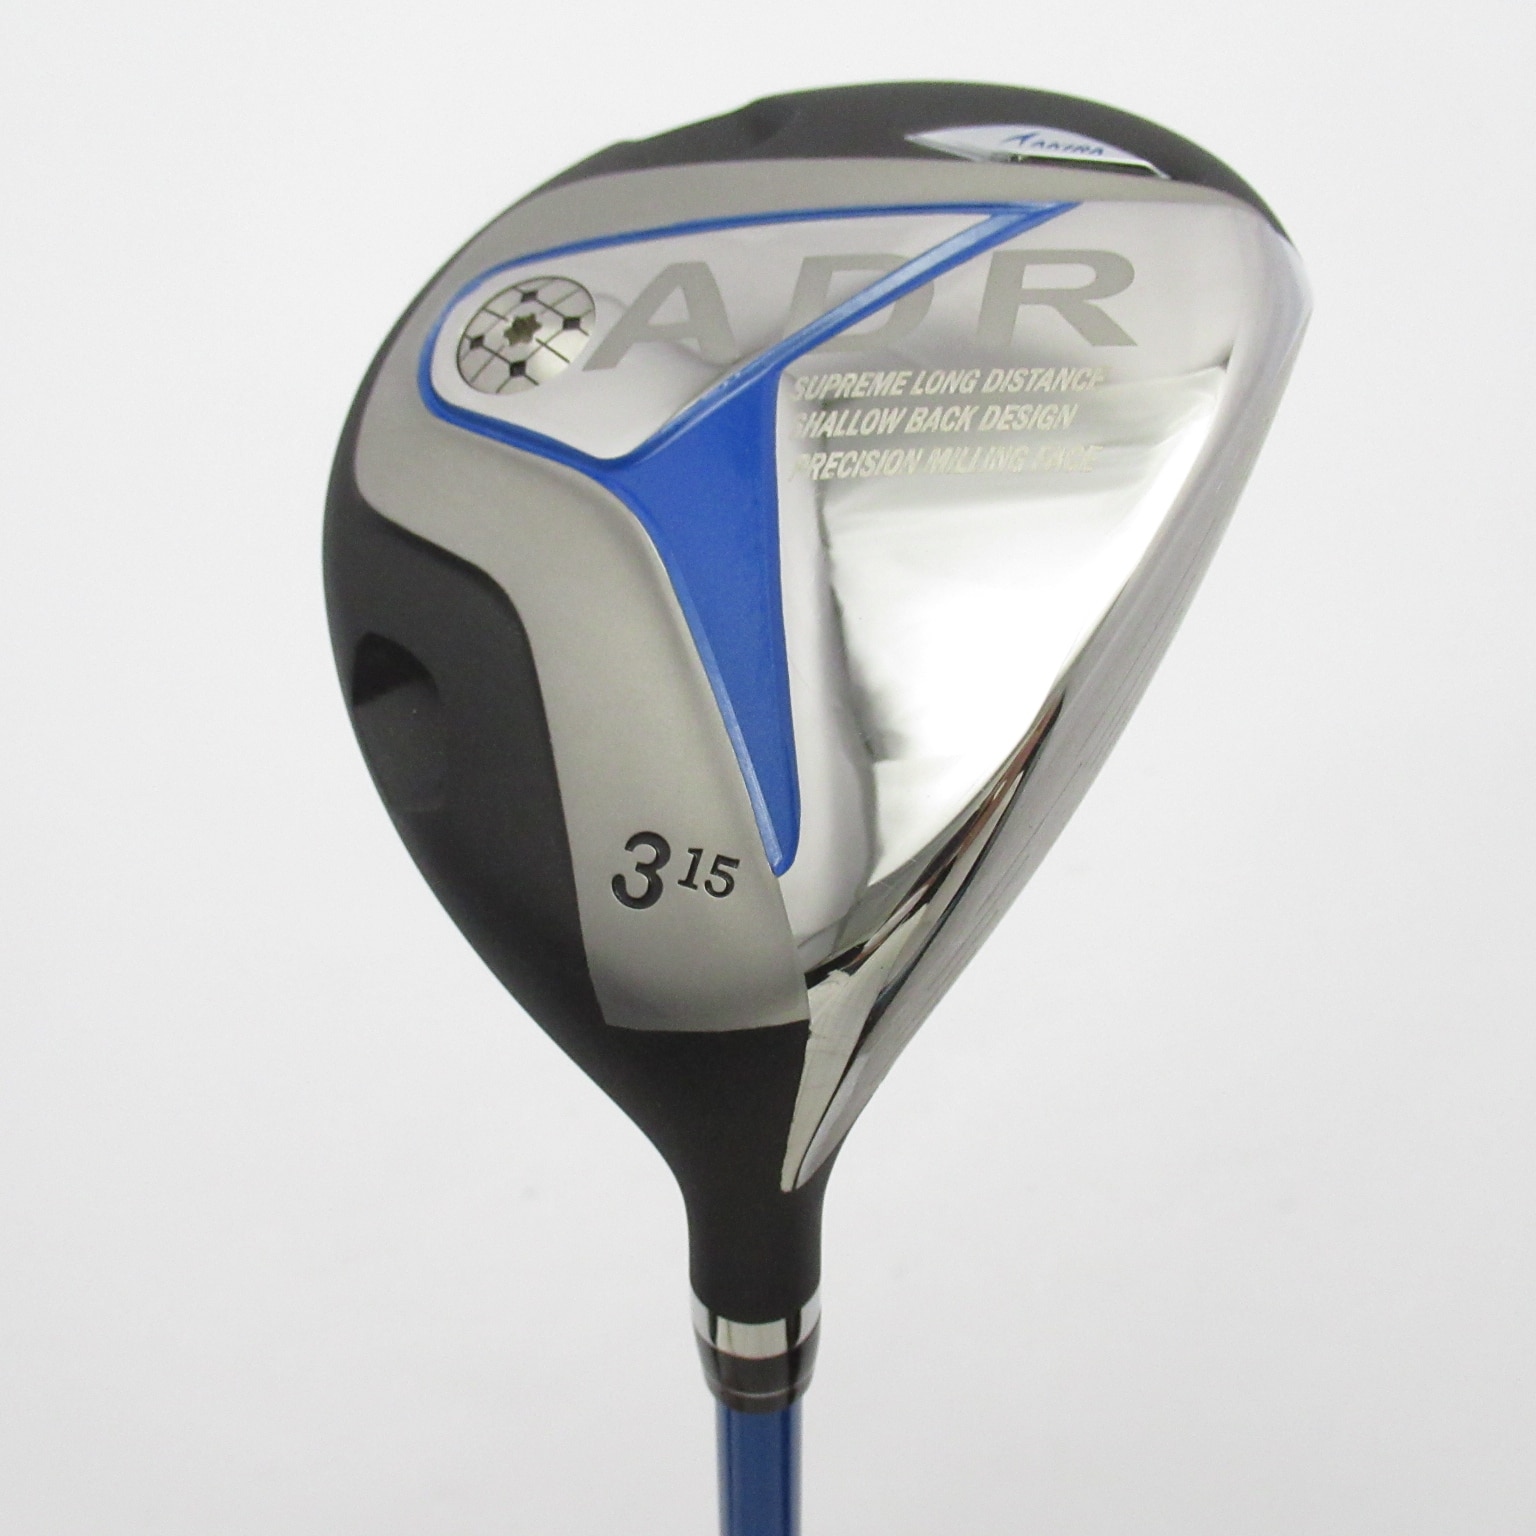
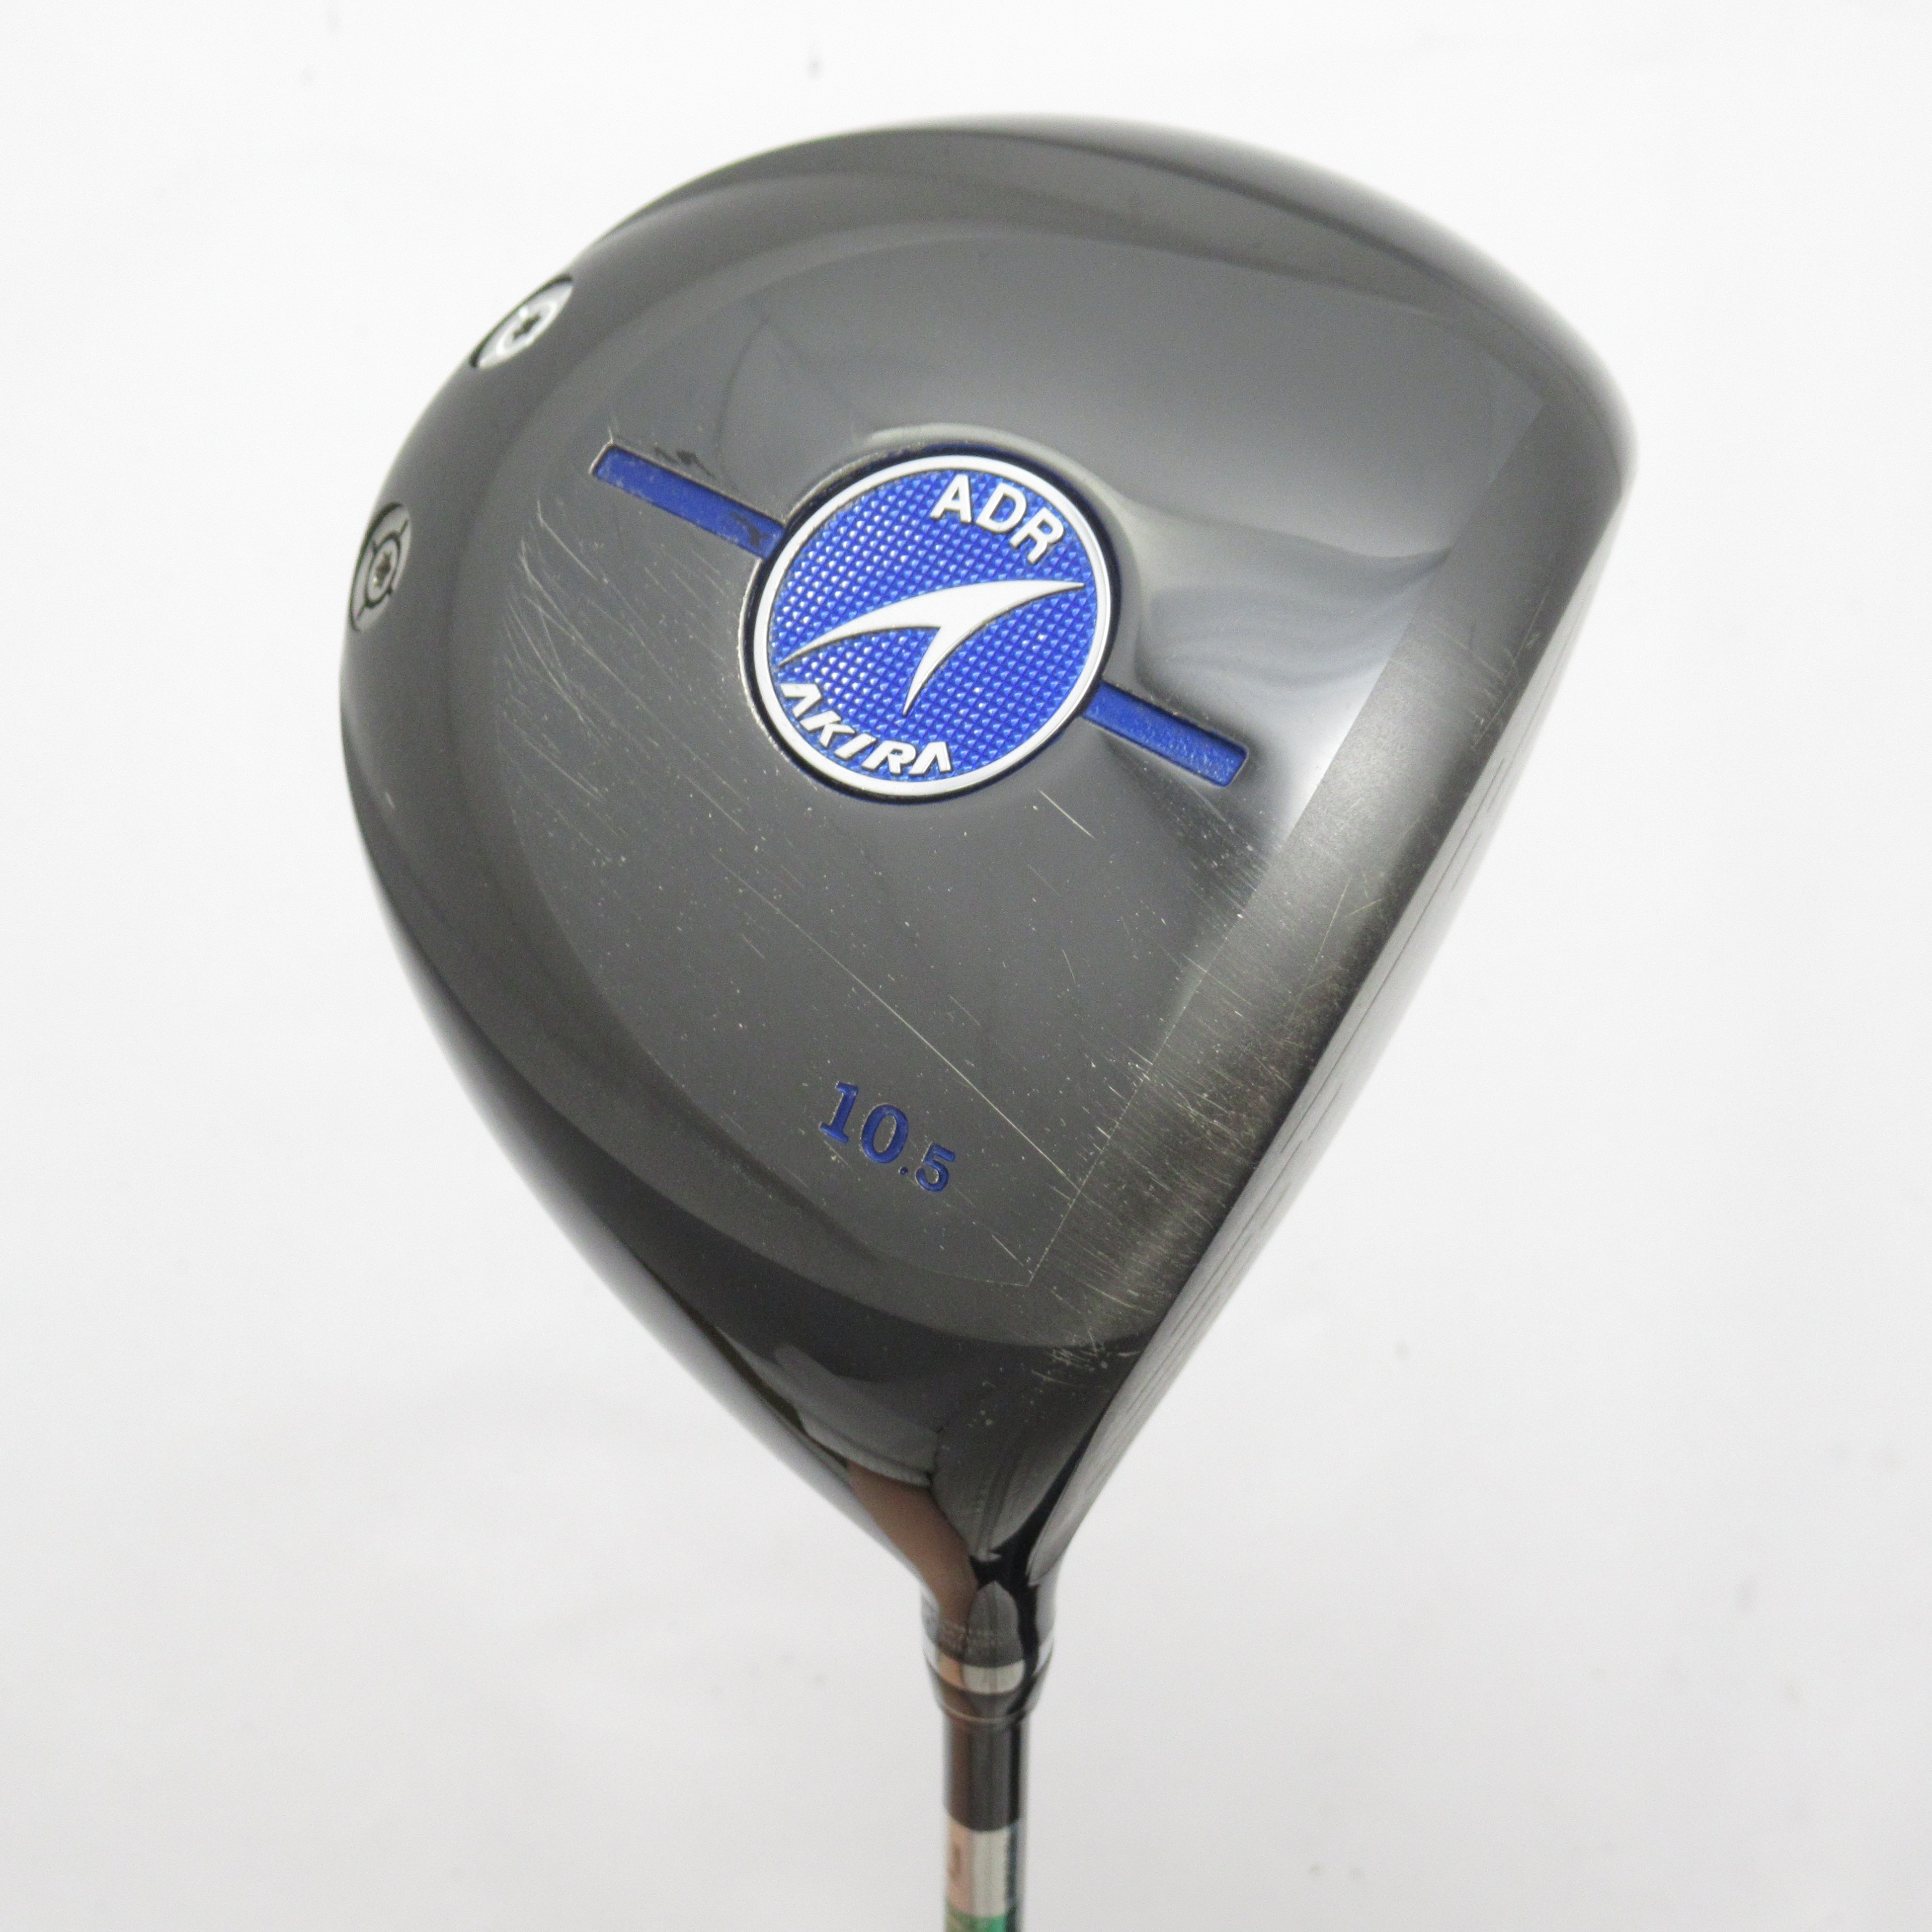
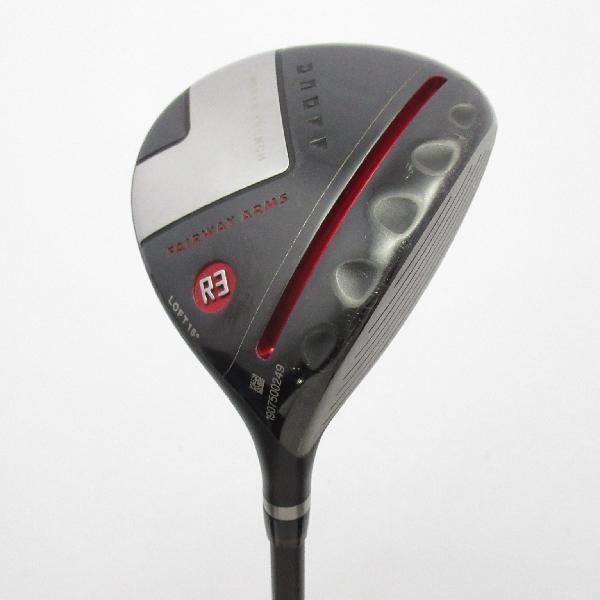
アキラプロダクツAKIRA ADR(2020) 3W
(税込) 送料込み
商品の説明
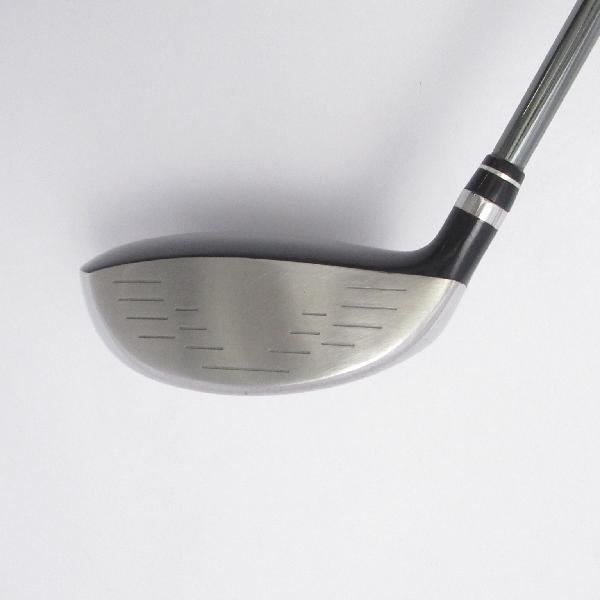
クラブ種別 フェアウェイウッド 状態(総合ランク)
ランクについてC 番手 3W 傷状態 ヘッド上部 C シャフト Tour AD ADR(2020) FW ヘッド下部 C メーカーフレックス R フェース C フレックス R シャフト B 発売時クラブセット組合せ内容 グリップ オリジナル 傷あり 本商品クラブセット組合せ内容 ヘッドカバー 純正品(汚い) クラブセット実本数 0 年式 メーカーカタログ情報 お店からのコメント/商品状態
| ヘッドロフト角(°) | 15.00 | クラブ重量(g) | 311.00 |
|---|---|---|---|
| ヘッドライ角(°) | 59.00 | 利き手 | スタンダード |
| ヘッド体積(cc) | 175 | シャフト長(インチ) | 42.750 |
| 性別 | メンズ |
※メーカーカタログ情報のため、実商品と異なる場合がございます。
10725円アキラプロダクツAKIRA ADR(2020) 3Wフェアウェイウッドアキラプロダクツ(AKIRAPRODUCTS) 中古フェアウェイウッド 通販|GDOアキラプロダクツ ADR AKIRA ADR(2020) フェアウェイウッド
アキラプロダクツ ADR AKIRA ADR(2020) フェアウェイウッド
アキラプロダクツ AKIRA フェアウェイウッド ADR(2020) AKIRA ADR(2020
中古 アキラプロダクツ AKIRA ADR(2020) フェアウェイ
アキラプロダクツ ADR AKIRA ADR(2020) フェアウェイウッド
アキラプロダクツ ADR AKIRA ADR(2020) フェアウェイウッド
アキラプロダクツ AKIRA フェアウェイウッド ADR(2020) AKIRA ADR(2020
アキラプロダクツ ADR AKIRA ADR(2020) フェアウェイウッド
アキラプロダクツ ADR AKIRA ADR(2020) フェアウェイウッド
アキラ ゴルフ ADR フェアウェイウッド Tour AD AKIRA
アキラプロダクツ ADR AKIRA ADR(2020) フェアウェイウッド
人気絶頂 アキラプロダクツ ADR Premium ADR AD シャフト:Tour 【3W
アキラプロダクツ ADR AKIRA ADR(2020) フェアウェイウッド

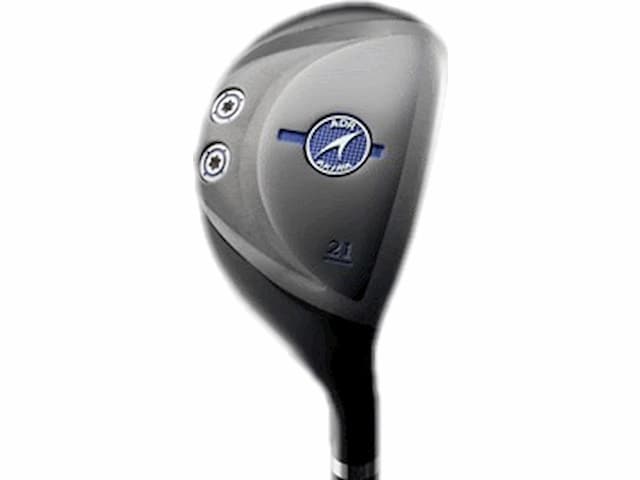
製品情報 | AKIRA | アキラプロダクツ 公式ホームページ
AKIRA ADR(2014) 中古フェアウェイウッド アキラプロダクツ ADR 通販
アキラプロダクツ ADR 2020年モデル アイアン (カスタム) - ジーワンゴルフ
人気絶頂 アキラプロダクツ ADR Premium ADR AD シャフト:Tour 【3W
アキラプロダクツ(AKIRAPRODUCTS) 中古フェアウェイウッド 通販|GDO

製品情報 | AKIRA | アキラプロダクツ 公式ホームページ

人気絶頂 アキラプロダクツ ADR Premium ADR AD シャフト:Tour 【3W
ヤフオク! - アキラプロダクツ ADR AKIRA ADR(2020)
AKIRA ADR(2017) 中古フェアウェイウッド アキラプロダクツ 通販|GDO
アキラプロダクツ(AKIRAPRODUCTS) 中古フェアウェイウッド 通販|GDO
人気絶頂 アキラプロダクツ ADR Premium ADR AD シャフト:Tour 【3W
販売卸売 【中古美品】アキラ ADR ユーティリティ18度R クラブ
ADR(エーディーアール) 中古ゴルフクラブ アキラプロダクツ 通販|GDO
2022正規激安】 KURO オノフ オノフ f60K SHINARI シャフト:LABOSPEC

AKIRA | アキラプロダクツ 公式ホームページ

販売卸売 【中古美品】アキラ ADR ユーティリティ18度R クラブ

ADR(エーディーアール) 中古ゴルフクラブ アキラプロダクツ 通販|GDO

販売卸売 【中古美品】アキラ ADR ユーティリティ18度R クラブ
販売卸売 【中古美品】アキラ ADR ユーティリティ18度R クラブ

中古ゴルフクラブ在庫数55万本!ゴルフのことならゴルフパートナーへ

販売卸売 【中古美品】アキラ ADR ユーティリティ18度R クラブ

アキラADRユーティリティ21°24° www.krzysztofbialy.com
販売卸売 【中古美品】アキラ ADR ユーティリティ18度R クラブ

人気ブランドを アキラ ADR PLATINUM AW ASW クラブ - vsis.lk

中古ゴルフクラブ在庫数55万本!ゴルフのことならゴルフパートナーへ
アキラプロダクツ ADR フェアウェイウッド #5 [NewSpeederテクノロジー
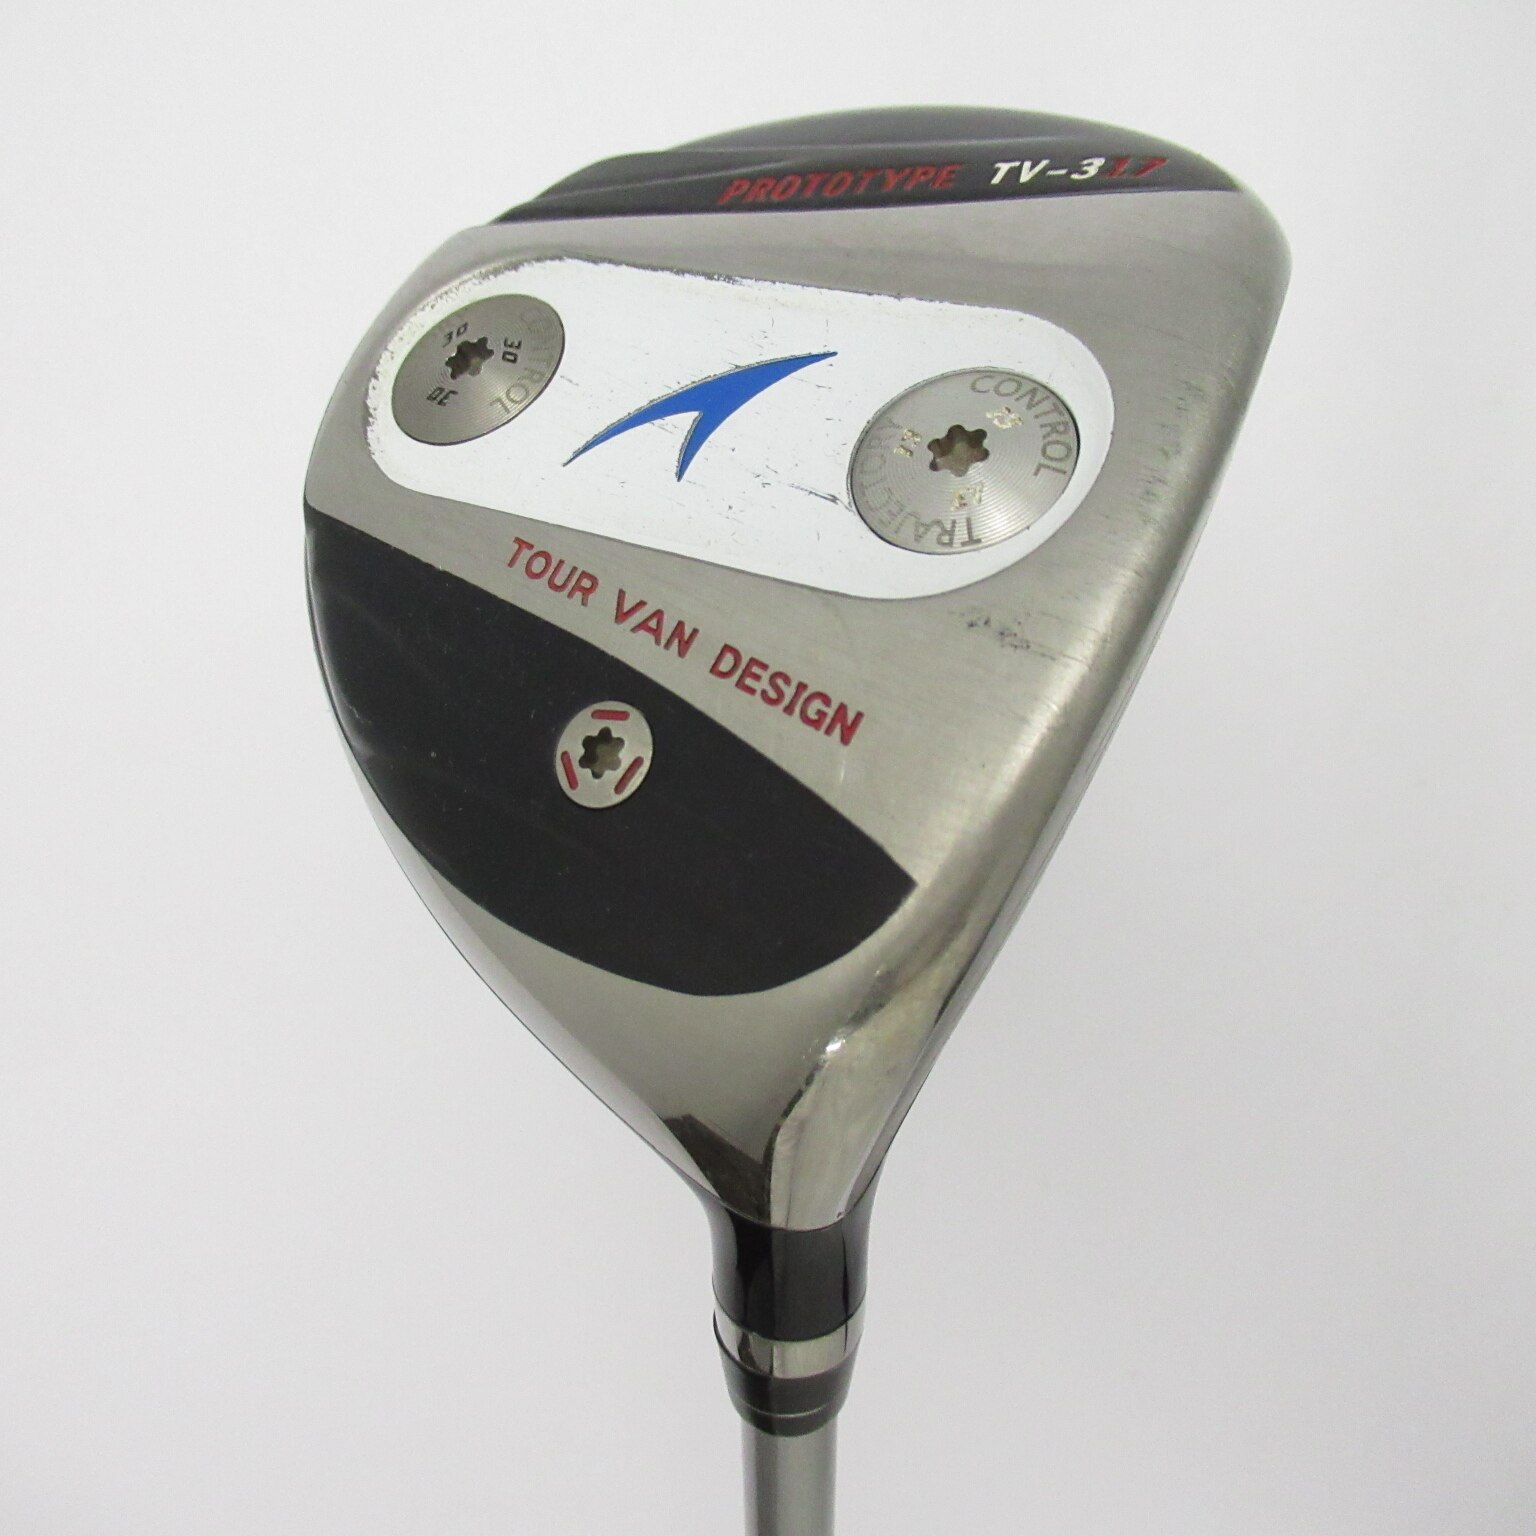
アキラプロダクツ AKIRA フェアウェイウッド PROTOTYPE H3xx AKIRA


商品の情報
メルカリ安心への取り組み
お金は事務局に支払われ、評価後に振り込まれます
出品者
スピード発送
この出品者は平均24時間以内に発送しています


